
Set up Reading Journey
Set up Reading Journey in about ten minutes: install it, add or import your books, set a goal and put your shelf on your Home Screen. An account is optional; add one when you want backup or a second device.
1. Install and open the app
- Download Reading Journey from the App Store (iPhone and iPad, iOS 26 or later) or Google Play (Android 14 or later).
- Open it and tap Continue through the five welcome pages, then Get started.
- Close the RJ+ offer if you don't want it now. Everything in this guide works without it.
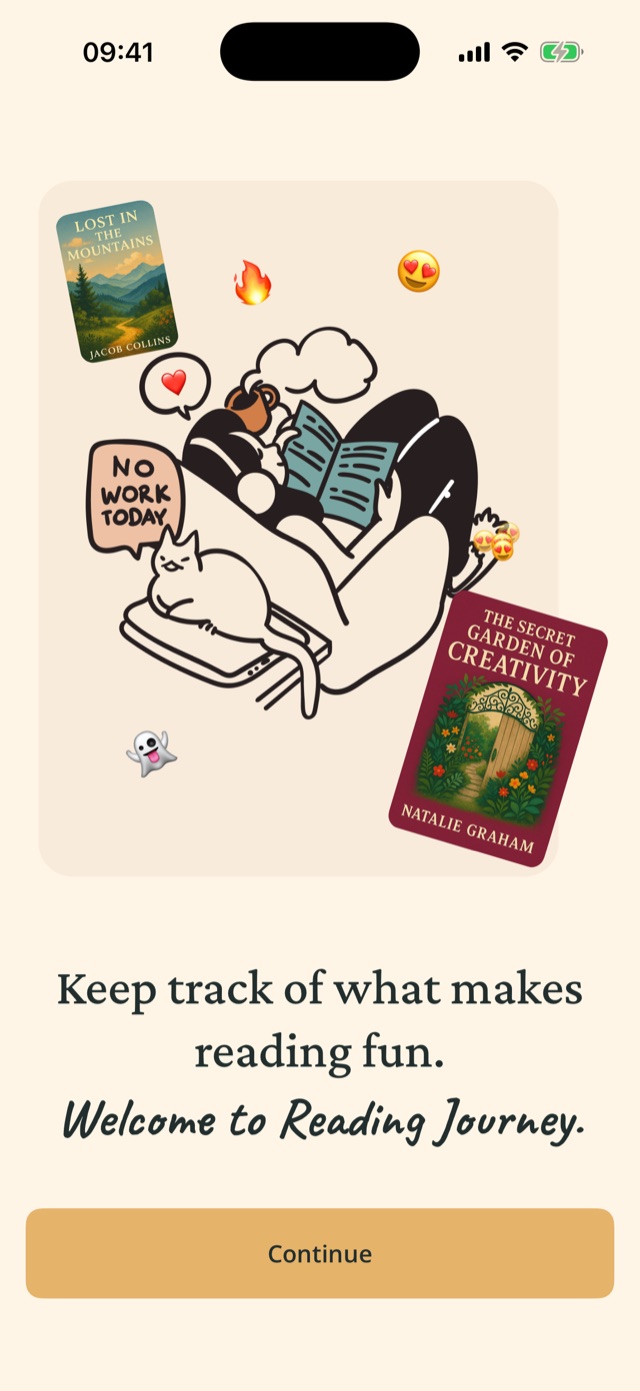
Your library starts empty and stays on your phone. Reading Journey asks for the camera, photos or location only the first time a feature needs them.
2. Create an account (optional)
An account backs up your library and lets you use Reading Journey on more than one device or with an AI assistant.
- Open the Settings tab.
- In Your Account, choose Continue with Apple, Continue with Google or Continue with Email.
- For email, choose Create Account, enter your email and a password of at least 8 characters, then open the confirmation email and come back to Sign In.
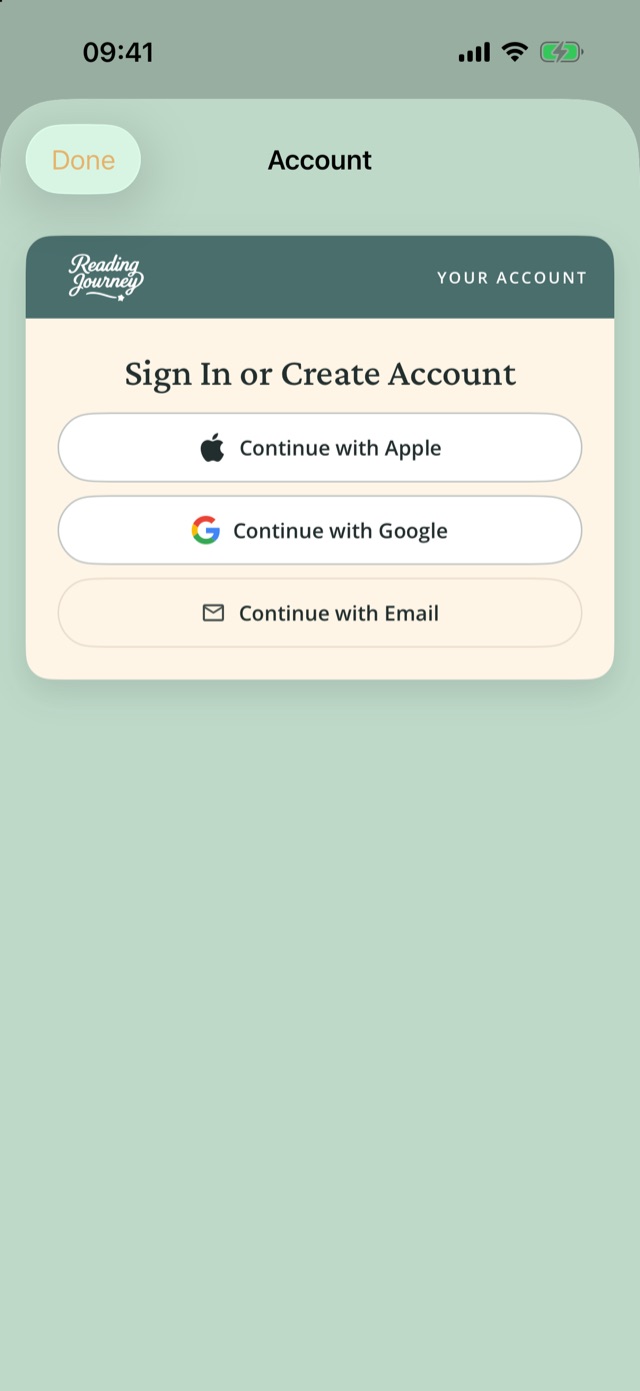
Already have books on this phone? They're merged into your account when you sign in. Use the same sign-in method on every device so they all reach the same library.
3. Bring your library
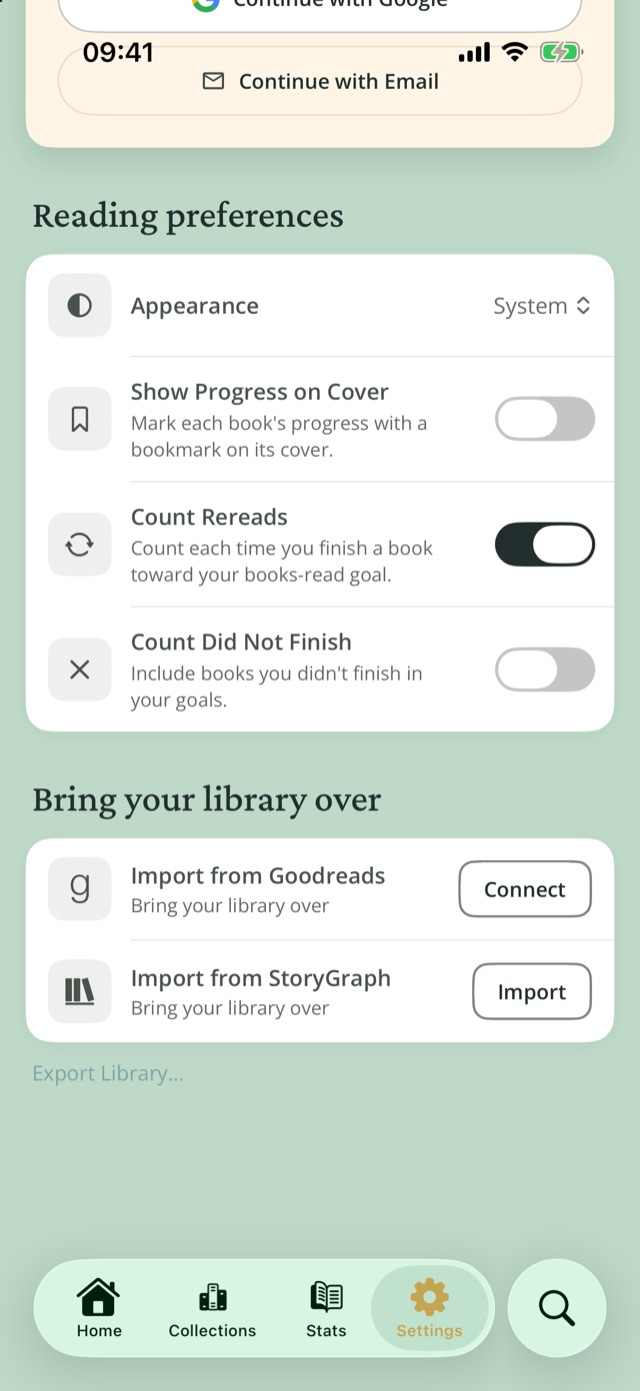
Coming from Goodreads or StoryGraph? Import your shelves, ratings, reviews and dates under Settings›Bring your library.
From Goodreads
- Tap Import from Goodreads›Connect.
- Sign in to Goodreads in the window that opens.
- Wait for the import to finish. Books Reading Journey can't identify right away are filled in later.
With RJ+, turn on Auto-Sync to pick up new Goodreads books every time you open the app.
From StoryGraph
- Tap Import from StoryGraph›Import, then Open StoryGraph and sign in.
- Tap Generate Export on StoryGraph. Refresh until the download link appears, or wait for StoryGraph's email.
- Download the CSV, come back and tap Choose CSV file.
4. Add your first book
- On Home, tap Add new book.
- Choose Search by title or ISBN, Scan book cover, Import from image or Add manually.
- Pick the book and tap Add Book.
Each way is explained under How-to guides.
5. Set your first goal
- On Home, scroll to Your Reading Goals and tap Set your first goal.
- Choose what to count (Books, Pages or Minutes) and how often (Day, Week, Month or Year).
- Enter a target and save.
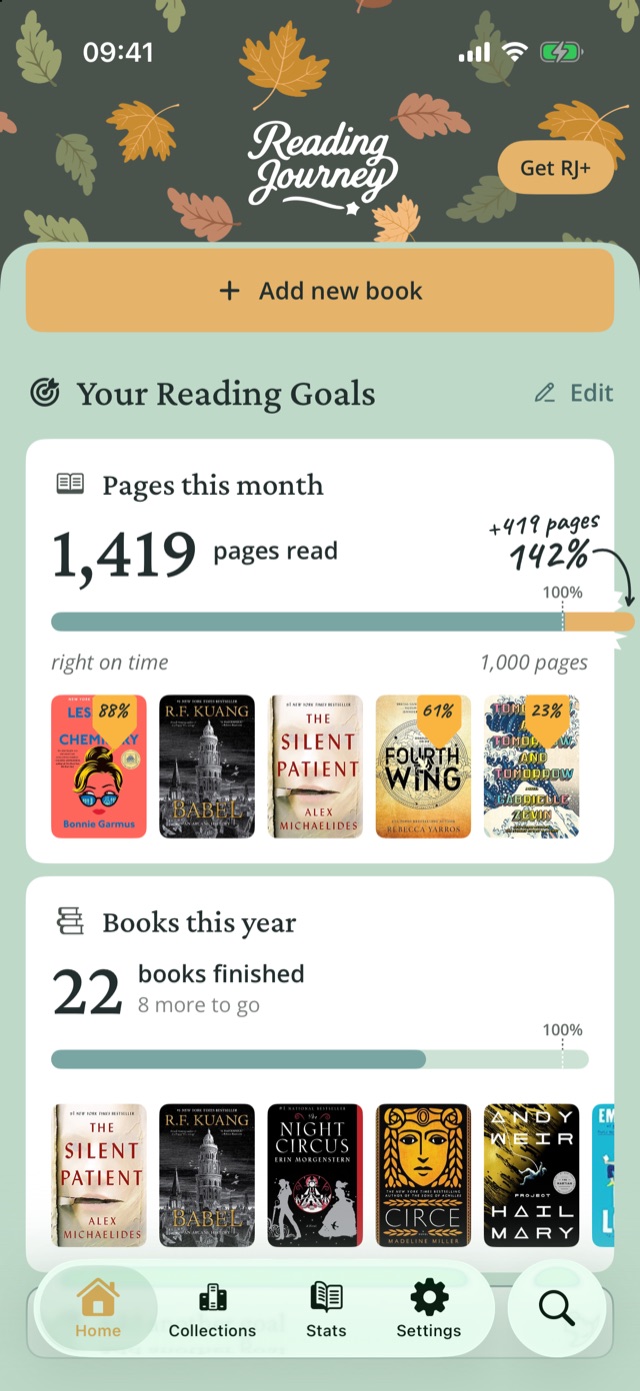
Pick a Minutes goal if you want to use the Focus timer. One goal is free; RJ+ adds more.
6. Add your shelf to the Home Screen and Lock Screen
iPhone Home Screen
- Touch and hold an empty part of the Home Screen until the apps jiggle.
- Tap Edit, then Add Widget.
- Search for Reading Journey, choose Currently Reading and a size, then tap Add Widget.
iPhone Lock Screen
- Touch and hold the Lock Screen, then tap Customize and choose the Lock Screen.
- Tap the widget area and add Current Read or Log Your Reading.
Android: touch and hold the Home Screen, tap Widgets, find Reading Journey and drag a widget into place.
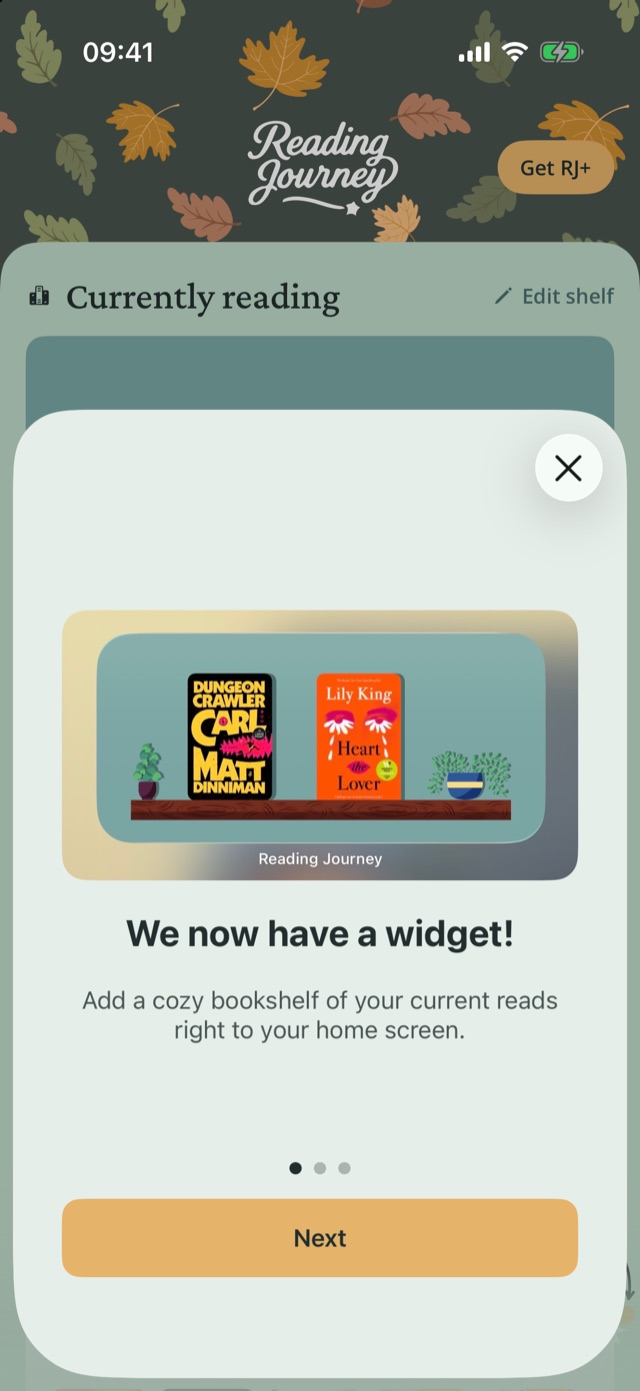
The widget shows the shelf you design under Home›Edit shelf.
7. Use a second device
- Install Reading Journey on the other device.
- Sign in with the same method you used on the first device.
- With RJ+, both devices stay in sync. On a free account, choose Transfer to This Device to move syncing there (you can move it once every 24 hours).
8. Connect an AI assistant (optional)
Let ChatGPT, Claude or Meta Muse add books, update statuses and manage your Next Up for you. Add https://mcp.readingjourney.app as a custom connector in the assistant and sign in with your Reading Journey account. The full steps are on the Assistant connector page.
9. Choose how it looks
Go to Settings›Reading preferences›Appearance and choose System, Light or Dark. Reading Journey uses your phone's language; it's available in 14 languages.
From the public Reading Journey Docs.Reading Journey homePrivacyTermsSupport